Customers Overview
The Customers Group in InfoHub™ provides your organization with the ability to store and report on information for the Customers your company does business with. Through Customer Group functionality, you can also create proposals and map job sites for accurate quoting. Specific aspects of InfoHub’s tools enable you to keep your customers in the loop by sending them arrival and departure notifications. This video will show you a few things you need to know regarding your Customers.
Your Customers on the Map
Add a Customer Group
Introduce Job Site Locations & Proposals
Create a Customer Group
A Customer must be added to your company before you can create unique Job Site locations for that account. Here’s how to do this step by step:
Your InfoHub account will include a default customers group. Select this group from your group list.
or
Create a new group by choosing Add Group from the top.

1. If you have previously added a customer group, you may select the customer group name from the Group List.
2. Enter the Group Name, Supervisor Name in the appropriate fields. Choose Customer for the Group Type.
A simple name for your customers group is best. We recommend “Customers” or “Clients” as an example.
3. You can enter additional details about the crew such as the Description, Time Settings, Hours of Operation and Contact Information.
4. Choose Save to finish.
Now you are ready to add customers and Job Sites to this group. Keep reading to see how:
Add Customers
Once you save your customer group. You can navigate to the details menu of this group.
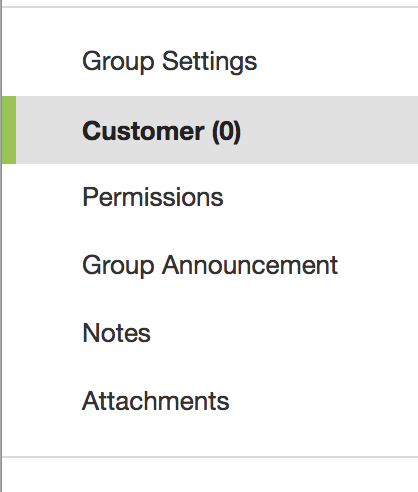
1. Select Customers from the Group Editor Details Menu.
Alternatively, if your customers group is already set up, you can choose it from the Group List on the Dashboard.
2. Choose Add New from the upper right menu.![]()
3. Enter the name of the customer’s business in Customer Name as well as a Contact Name and Type.
Tip: If this is a residential customer, the Customer Name can be the same as the Contact Name
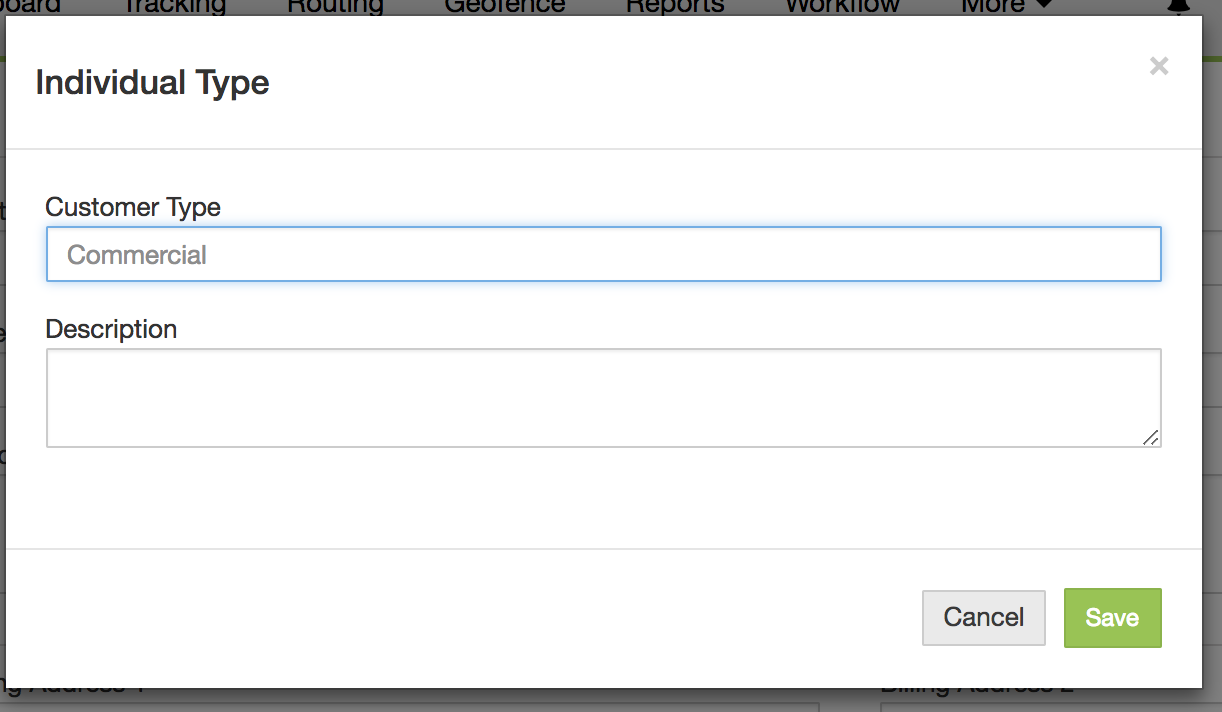
To add a new customer type, choose Add next to that field. This will open a popup where you can add the customer type and description you choose. Suggested customer types include:
Commercial
Residential
Municipal
4. Enter the Billing Address details for this customer.
5. You may also choose to enter details such as contact information, email address and notifications for your customer. Learn more about Workflow Notifications.
6. Add a photo for your customer’s profile by selecting the avatar image and choosing Change Picture.
7. Once you are ready, choose Save.
A message will appear asking if you would like to configure Locations for this customer. Locations are the Job Sites that your crews will service and a single customer may have multiple locations. We will go into more details about Locations in an upcoming guide.
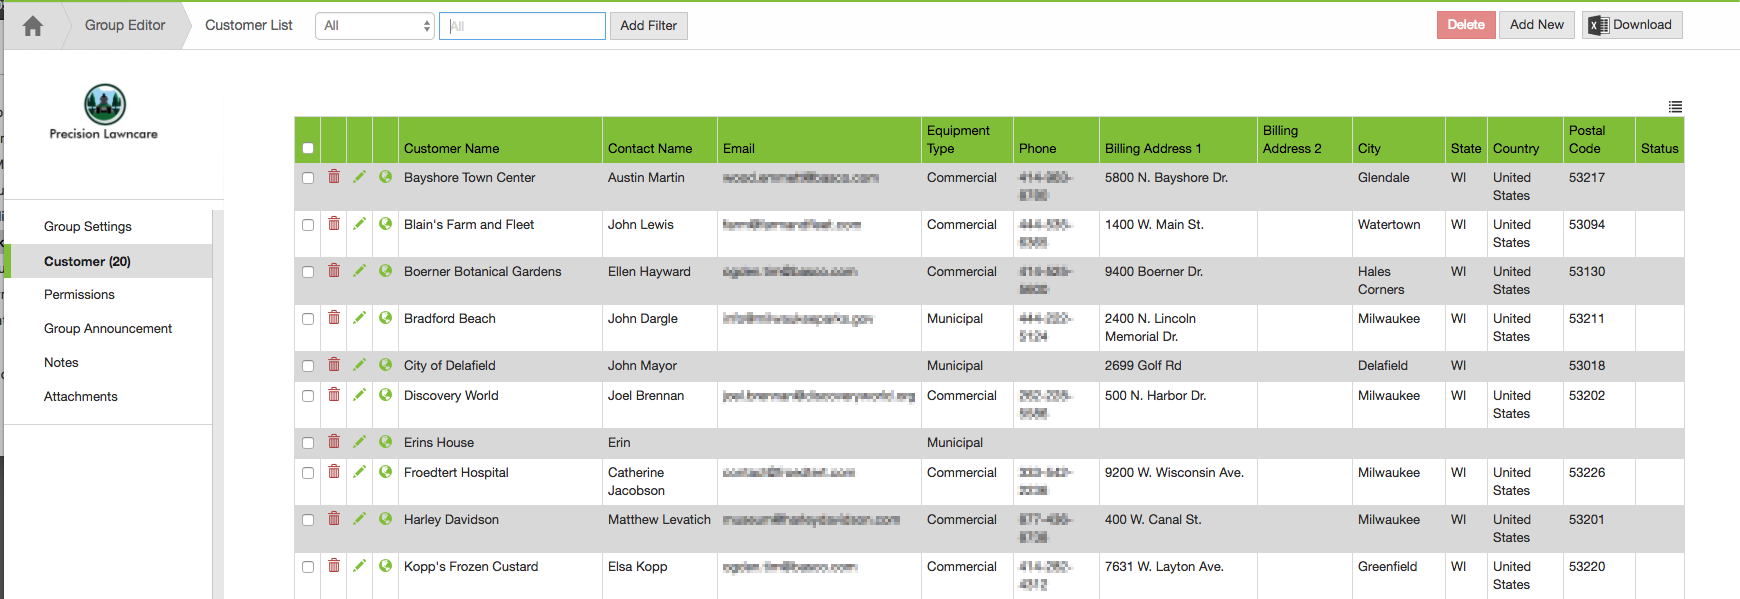
You can now see this customer in your customer list as shown.
Edit Customer Details
Choose the individual customer and select the pencil icon ![]() to return to the customer details and edit or update information.
to return to the customer details and edit or update information.
Deleting Customers
Customer Group
In the event, you need to delete a customer group from your InfoHub account, you can do so by:
Select the name of the group to be deleted from the Group List.
In the main Group Settings, choose Delete at the bottom of the details.
To delete individual customers
Select Customers from the Group Editor Details Menu.
Pick the trash icon
 next to the customer you want to delete. A prompt will appear asking to confirm your choice.
You can also bulk delete customers by selecting them and choosing Delete in the upper right.