Creating Workflow Routes
To add a new route:

1. From the Dashboard, select Workflow from the Main Menu.
Workflow is where you can view routes and create new ones for your crews. You will see a list of existing routes that you may have created earlier. If you have never created a route, this screen will be empty.
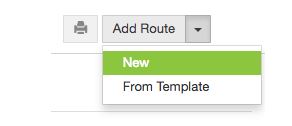
2. At the top-right corner of the screen, Select Add Route. Alternatively, select the dropdown arrow and choose New.
Note: We will cover how to add a route from an existing template in an upcoming guide.
3. A popup screen will appear where you can add details for this route. Fill in the Route Name, Estimated Start Time and Description of your new route.
Tip: New routes will default the Estimated Start Time to the current time. To change the Estimated Start Time, select the clock icon![]() within the calendar widget to pick hours and minutes. Select the calendar icon
within the calendar widget to pick hours and minutes. Select the calendar icon![]() in the widget to return to date selection.
in the widget to return to date selection.
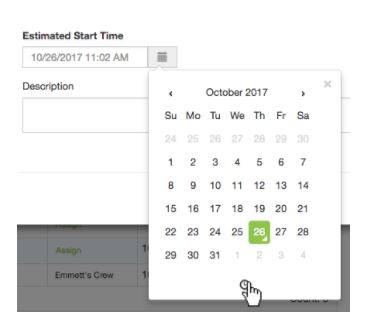
4. Once you have entered basic details for this route, select Next.
5. The next screen that appears is the Route Editor. Select Existing Job to bring up a list of Job Sites that have been added to InfoHub.
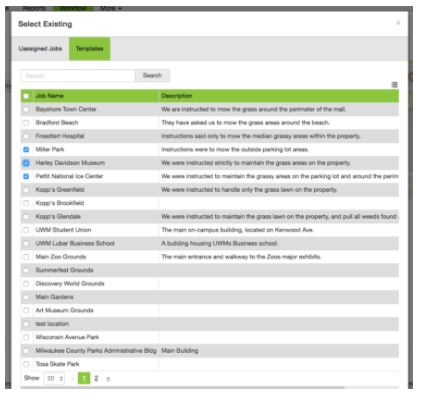
5. Pick the checkbox next to each job you want added to this route.
6. Select the Add button ![]() at the bottom of the screen.
at the bottom of the screen.
The Route Editor will refresh to show the Job Sites you have included in this route. You can Reorder the listed job sites by selecting and dragging the job up or down in the list. You can also re-order the jobs by selecting the number next to the job site on the list and typing in the number of the order on the list.
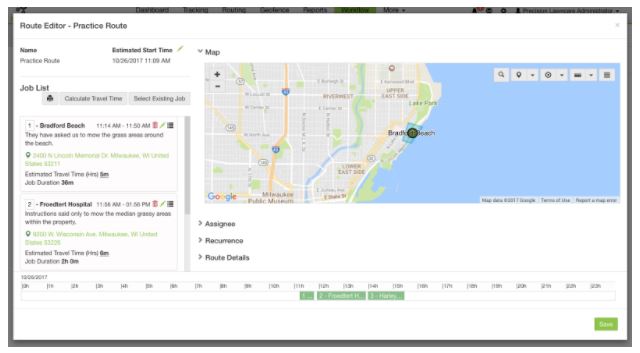
Use the Map to guide your route ordering decisions. A route that is easy to navigate will help your crews understand where to go and cut down on windshield time.
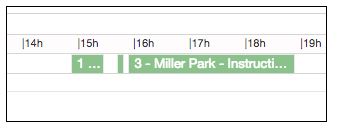
Travel Time*
View the Timeline at the bottom of the screen to see how InfoHub is plotting your route to allow for travel and estimated job completion time.
To add additional time to a route, select Calculate Travel Time. This will include a buffer to your timeline to give crews time to travel to the next job site within this route.
*Travel times are estimated only, and may vary depending on traffic, construction, weather, and other events.
Assign Routes to a Crew
Select Assignee beneath the map within the Route Editor screen.
Select the Assign
 button next to the crew to assign that crew to this route.
If you do not see a particular crew listed, search for the crew name you wish to assign and hit Enter to filter.
Recurrence
When you create a workflow route in InfoHub, you can have it repeat.
Select Recurrence beneath the map within the Route Editor screen. Check the box to enable options for repeating this route.
Choose how often you want the route to repeat, and when you want the repeating route to end.
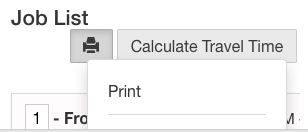
Once you are ready, select Save. This new route will now appear in the date range that you have scheduled it for.
Delete a Route
Remove routes from your account as seasons, crews and jobs change over time.
1. Go to Workflow
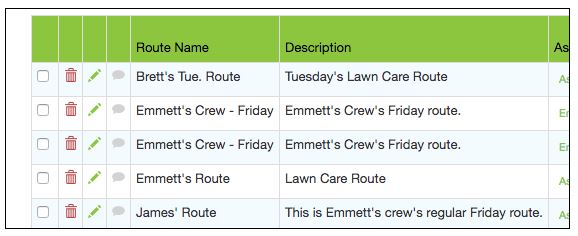
2. Select Delete Icon![]() from the list next to the route you wish to remove. A window will appear asking to confirm this choice.
from the list next to the route you wish to remove. A window will appear asking to confirm this choice.
3. Confirm the delete action by selecting the checkbox next to Confirm Action.
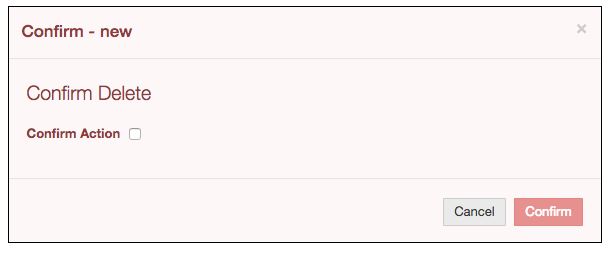
4. Select the Confirm button.
Great! Now you should be able to create new routes to maximize your crew’s productivity.
InfoHub is here to help you optimize your business and increase your profitability. We hope that the Workflow Routing tool becomes a key tool in your commercial turf operation.
Looking to edit an existing route you have created? Continue on to: Editing a Route.